I started making scenery as soon as I bought my first catachan guards more than 15 years ago. Since then, I made a few progress in term of modeling and painting techniques. But, I was always more drawn to the Nature scenery-making as you could see with my previous River table or North Afrika table project. Thus, when I finally decided to start the Malval project, I knew that I will have to learn a lot of new techniques related to medieval model buildings and more specifically, how to make Stone walls.
I know that a lot of you use the PS foam (styrofoam) carving techniques and I can tell you that I’m highly impress by what you can make starting from this material. As you’ll see in the future, I will give myself a try with this techniques but today I wanted to share with you an other technique I learned
I chose to investigate this technique, mainly because I use a wooden structure for this whole Mordheim table and thus I wanted to model the stone wall texture directly on the wood parts.
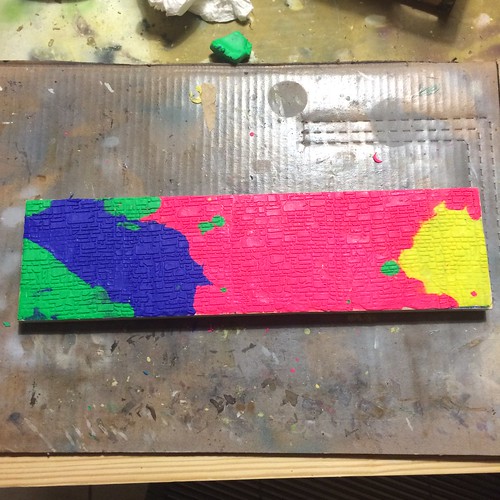
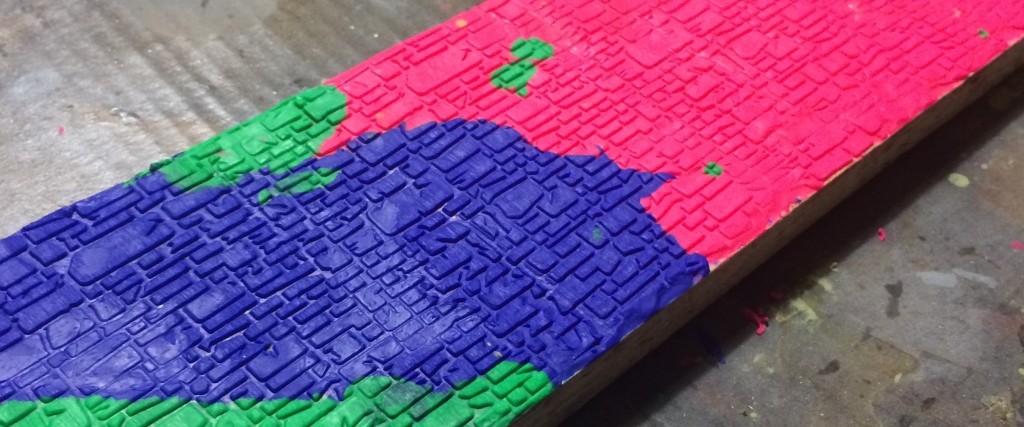
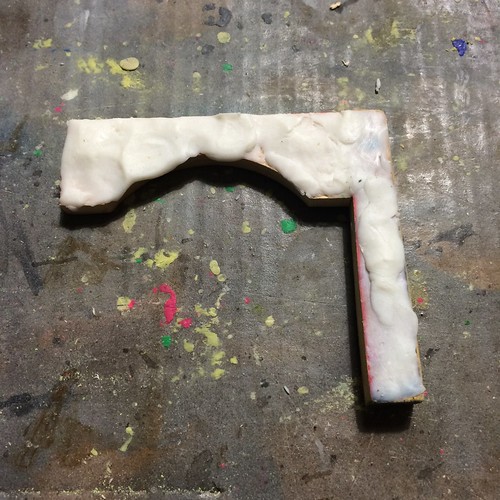
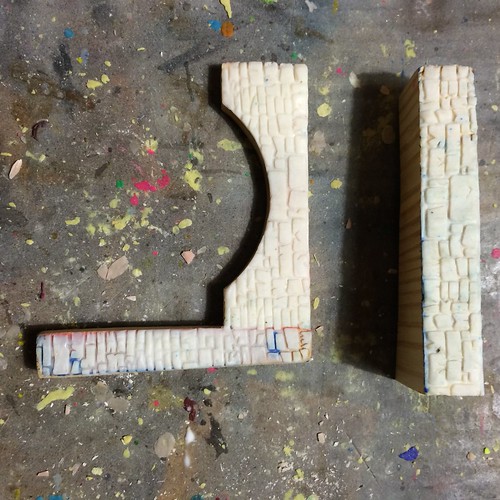
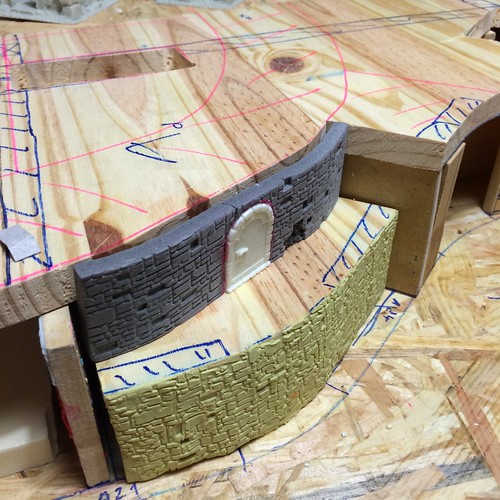
Here is the final result I get with this technique. As you can see, this is a wood pieces coated with FIMO (or milliput) and carved with a roll which has the negative texture of a stone wall engraved on it.
Step-by-step
For those who wants more detail on this technique, here is a quick step by step.
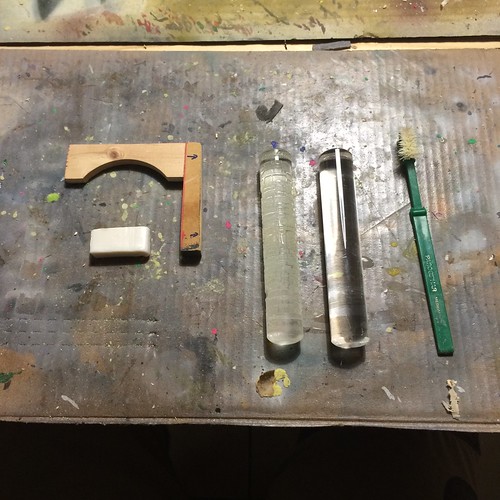
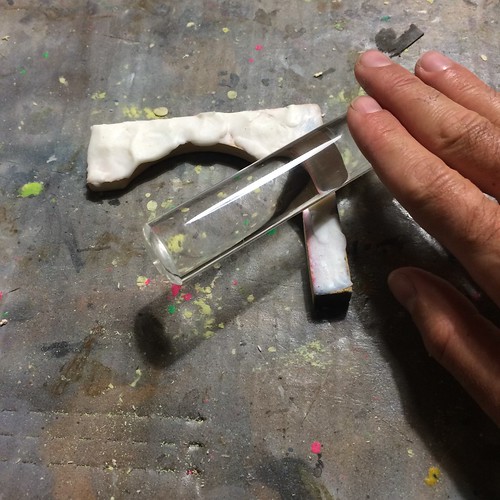
Here are the tools you will need for this technique. The white block on the left is a block of FIMO. Those are easy to find on Amazon or on any Arts & Crafts shop. In my case, I stole it to my wife. 😉
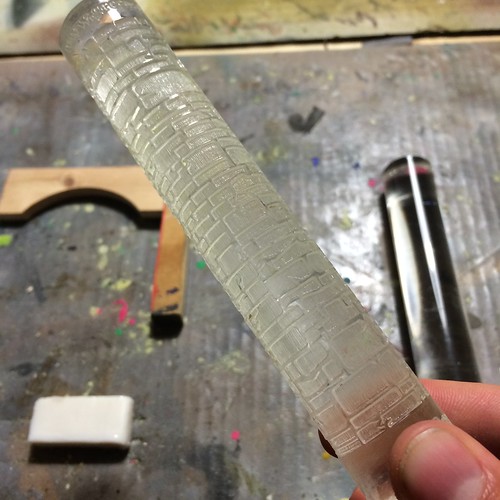
On this close-up you can see the stone wall texture engraved on the roll.
First step is to cover the whole surface with FIMO.
Then use the smooth roll to even the surface. It’s very important to have an even surface before using the engraved roll.
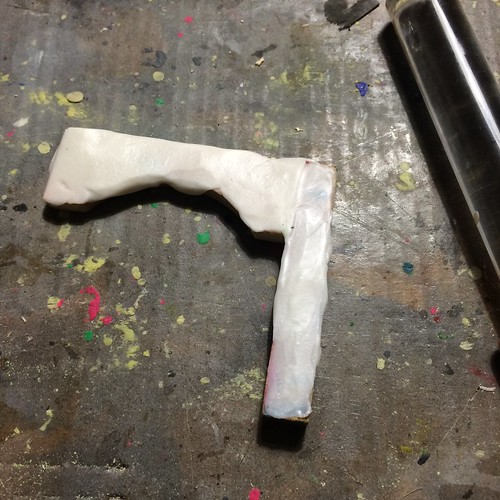
On the other hand, the surface doesn’t need to be perfectly smooth and homogenous. Actually, some defects will help to make your stone wall more realistic.
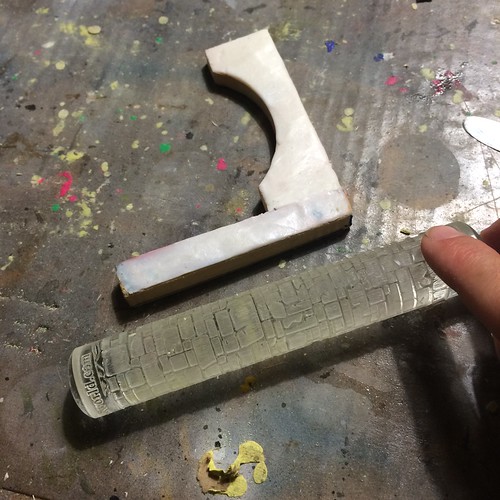
Next, use the engraved roll to texturized the FIMO coating. I would recommend to put a thin layer of water on the roll before rolling it over the surface as this will prevent FIMO to stick on the roll.
Once engraved, put the parts in your oven for 30 min at 110 °C (230 °F). And voila, it’s done. After baking, the surface will be as hard as any plastic.
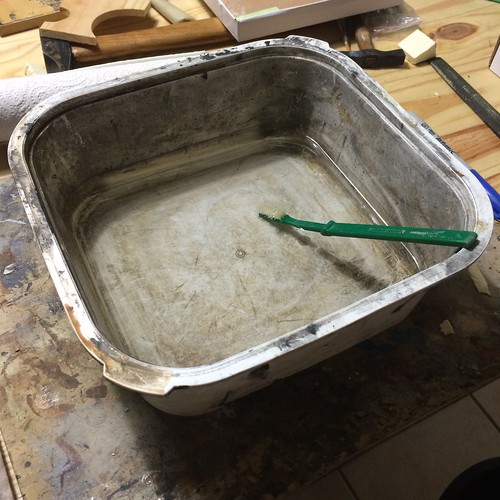
Last step, which is really important if you want to reuse your molding rolls, is to quickly clean your rolls using an old toothbrush and soapy water to remove all the small pieces of FIMO.
What if I can’t put my substrate in the oven?
Yeah, FIMO need to be baked in an oven to “dry” but obviously this is not the right technique if your substrate is prone to melting when exposed to such temperature.
For example, I made this round wall using a piece of PS foam (styrofoam). But I couldn’t put it in the oven because the PS foam is a thermoplastic and as such it would melt when temperature goes beyond its glass transition temperature (i.e. 90 °C/194 °F).
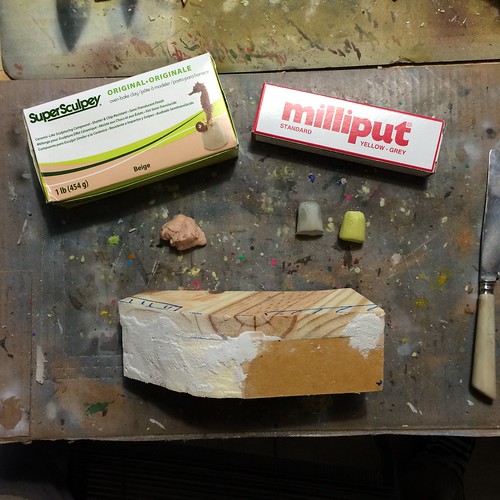
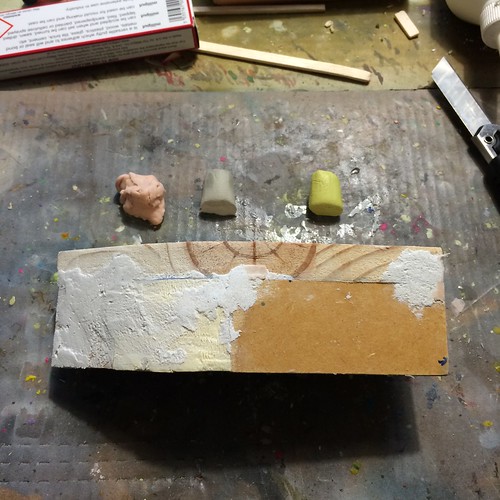
The solution was to use an alternative to FIMO that would “dry” at room temperature without any baking. In our hobby, we frequently use Milliput (or GW’s green stuff) which is a 2-components amino-epoxy paste that become “harder” when the two parts are intimately mixed together and without any baking. Because Milliput is not the cheapest material, especially when you are making large sceneries, I mixed the milliput with SuperSculpey at an approximate 50 vol. % content. This doesn’t alter the final mechanical properties and even help to avoid the Milliput to stick too much to the roll when texturing the surface.
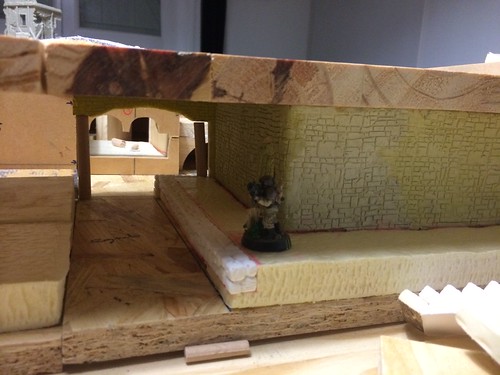
Here you can see the end result. After 24h drying, the surface is as hard as any plastic surface and ready to be painted!
So that’s it for today. What do you think of this technique and of the end result?
Kibo.

Leave a reply to Matt Cancel reply